Managing Geo Zones
Proper geographic settings for your online store are critical for targeted control over billing, shipping, and tax application. In this guide, we'll show you how to effectively manage Geo Zones within your website's admin area.
|
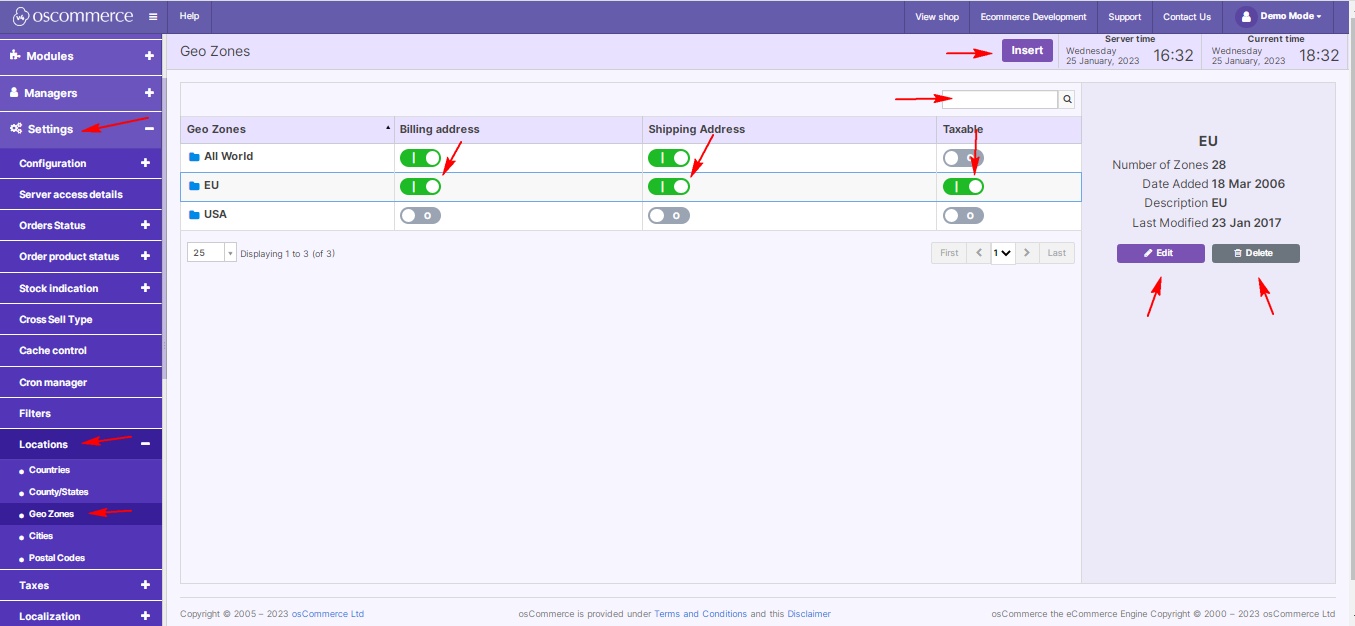
Accessing Geo Zones After logging into your website's admin area, direct your attention to the "Settings," "Locations," and "Geo Zones" tabs. Key Options Available Under the Geo Zones tab, a set of key options empowers you to tailor your geographical settings:
Quick Search for Efficiency Efficiency is paramount. Utilize the Quick Search function to swiftly locate specific Geo Zones by name. Granular Control with Geo Zones Working with Geo Zones provides granular control over their settings. You can:
|
 |
|
|
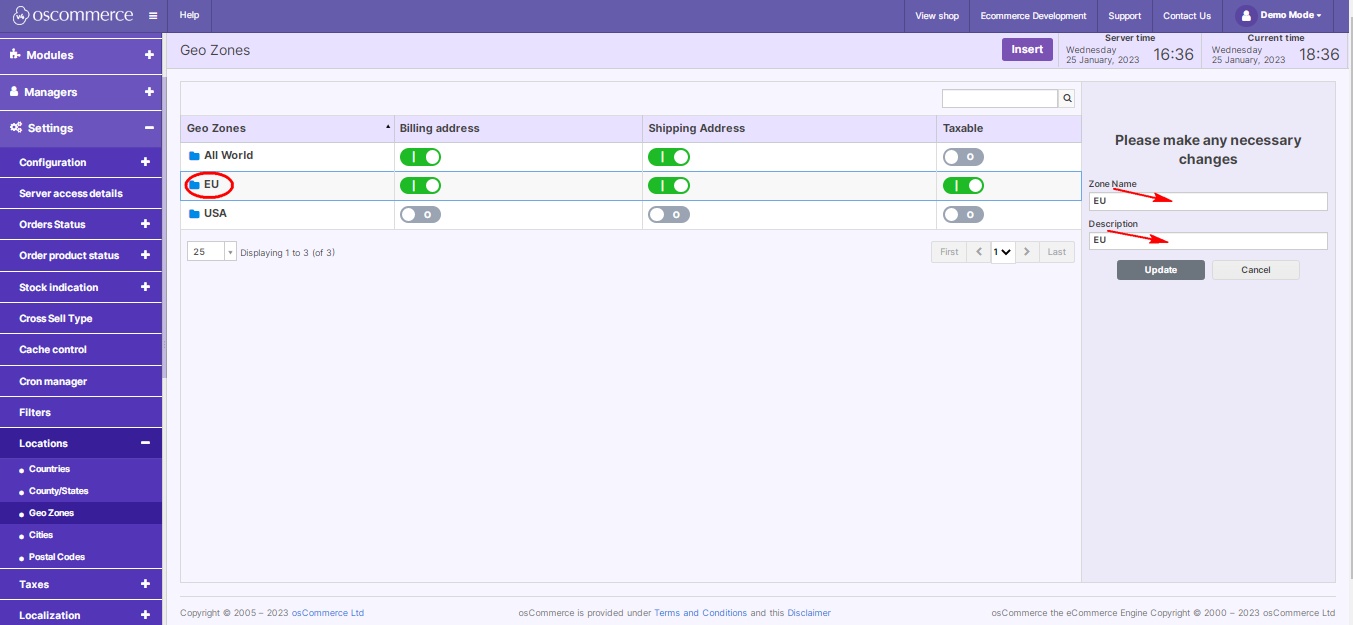
Zone Editing Clicking on the Edit button allows you to set a Geo Zone's name and description. This information refines the identification and understanding of each Geo Zone. |
|
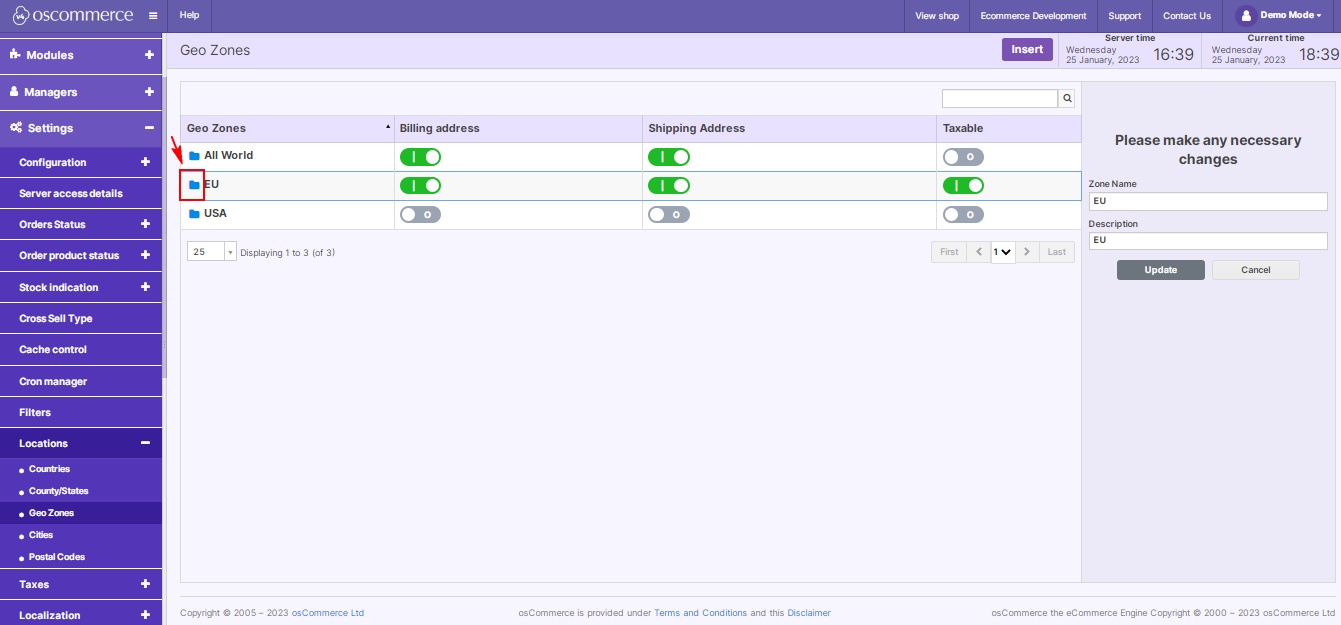
Managing Areas and Regions Geo Zones often encompass various areas and regions. To manage these subzones, click on the folder icon next to the desired Geo Zone. |
|
 |
Editing Areas or Regions While editing an area or region, you have the flexibility to:
Effortlessly navigate through your areas and regions by using the Quick Search feature. |
Empower your online store with targeted control over geographical aspects, ensuring a seamless and personalized experience for your customers. Happy Geo Zone management!


